BSA227 - Week 3 | Green screen
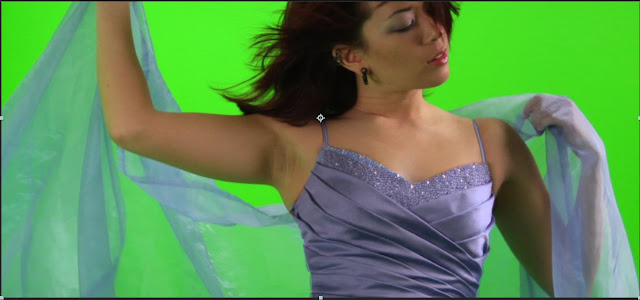
In today's class we edited a video with green screen.
The first thing is to cancel the green screen. For that I added a Keylight effect to the footage. Then use the screen colour dropper and click on the green colour. the green gets cancelled and turns black.
Then I added an image underneath and as you can see, some parts are see-through because of the green values on those pixels.
To fix that, go to Screen Matte mode instead of Final Result, which makes the image black and white. Everything green is now black and what is not green turns white. The grey values are in between, like the bottom part of the arm.
I increased the whites and decreased the blacks with the Clip Black and Clip White sliders under Screen Matte.
It looks better now, but now there's a harsh ugly black edge. We can fix that with the Screen Shrink/Grow and Screen Softness sliders.
Now we can remove the green tones in the skin by clicking the Despill Bias dropper and clicking on the skin where there's no green.
Now we can adjust the colours to make the image match the background a little bit better. Add Curves to the footage and adjust the Green and Blue channels.
The last thing is to remove the green values of the dress. Create a mask with the Pen tool and add key frames to place the mask correctly when the model moves. Oh, and I adjusted the tones with the Despill Bias dropper again like before. Also I duplicated the layer to make the scarf less see-through.
Here's the result! Before and after:


Comments
Post a Comment