Gaming Art - Week 7 | Mudbox + LOD in Maya and Unity
MUDBOX
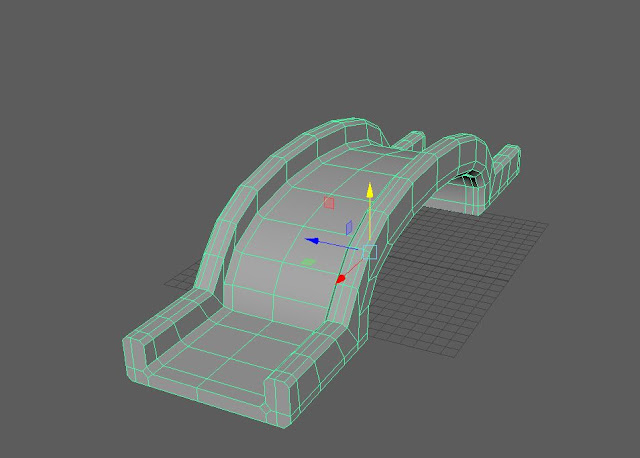
The first thing is import the the objects in Maya, in this case a low poly bridge. Delete the history and attributes and send it to Mudbox (File > Send to Mudbox > Send as new scene).
Under the Select/Move Tools Tab click on the Scale tool and scale it 10x10x10, because the scale is different between Mudbox and Maya. Increase the Subdivision levels up to 5 with Shift+D. Create a new sculpt layer.
Now we can start carving. Select the sculpt tool and some stamp, increase the Strength to 100 and make the size pretty small. Activate Invert Function and start carving the stones. After that I added a granulated texture with a very big brush and weak strength.
Then import a rock texture for the stones and set it as a stencil or stamp.
Under the Paint Tools tab select the Projection and start painting. Oh, and do this in a new diffuse Paint Layer.
In a new Specular Paint Layer paint with the Paint Brush black where it is not shiny and white where it is shiny.
If the project is set correctly, Mudbox will export the PSD files in the sourceimages. I did not have it set properly so they were in the scenes folder. To export them right click on the layer > Export Channel to PSD.
To export the Normal Maps UVs & Maps > Extract Texture Maps > New Operation... and select either:
- Normal Map for the Normal map
- Occlusion for the Ambient map (this makes details like separations, cracks, fissures etc darker)
- Transfer Paint Layers for the Paint Layers, in case the other Method does not work)
Save the maps like this:
- Colour: put a grey background and save it as a png for Unity.
- Specular: put a black background.
- Normal 2 : we also need a secondary normal map for the fine detail (granulated stone eg). So save the stone texture in PSD as a normal map under the 3D Filters.
LEVEL OF DETAIL
Open the bridge in Maya again. To create the LOD select the bridge and Edit > LOD > Generate LOD Meshes. And adapt the percentages depending of the LOD you want. Then send the bridge to Unity (File > Send to Unity > Selection). But set the Unity Project first by File > Send to Unity > Set Unity Project. Then the Assets folder will open automatically.
Now to create the LOD in Unity create an Empty Object (Create > Empty Object) and add a LOD Group (Add Component > LOD in the search bar). You can drag the levels to the left or to the right. Then click them individually and drag and drop the corresponding mesh.
Create a new Material and assign the corresponding maps.
And this is the result! It looks pretty good and it's low poly.


Comments
Post a Comment